Paper lanterns
The Lantern Festival marks the final day of the traditional Chinese New Year celebration. During this festival, people go out into their community at night, carrying paper lanterns of all shapes and sizes. These lanterns can represent letting go of a past self in order to make room for a new one. Create your own paper lanterns to help us celebrate this year’s Lantern Festival on February 26.
Supplies
- Red and yellow paper
- Pencil
- Ruler
- Glue stick
- Chinese zodiac stickers (optional)
Instructions
Step 1: Hold your paper vertically in portrait style and fold it in half from top to bottom (hamburger style).
Step 2: Place your paper with the fold pointing up. Using your ruler, measure a one-inch horizontal margin across the two free bottom edges of your paper. Then, draw vertical lines across your paper, from your margin to the folded edge. Tip: You can draw the lines however you would like. You can even try experimenting with different shaped lines such as squiggly.
Step 3: Once you have your lines drawn, take scissors and cut each line from the fold to the top of your margin line.
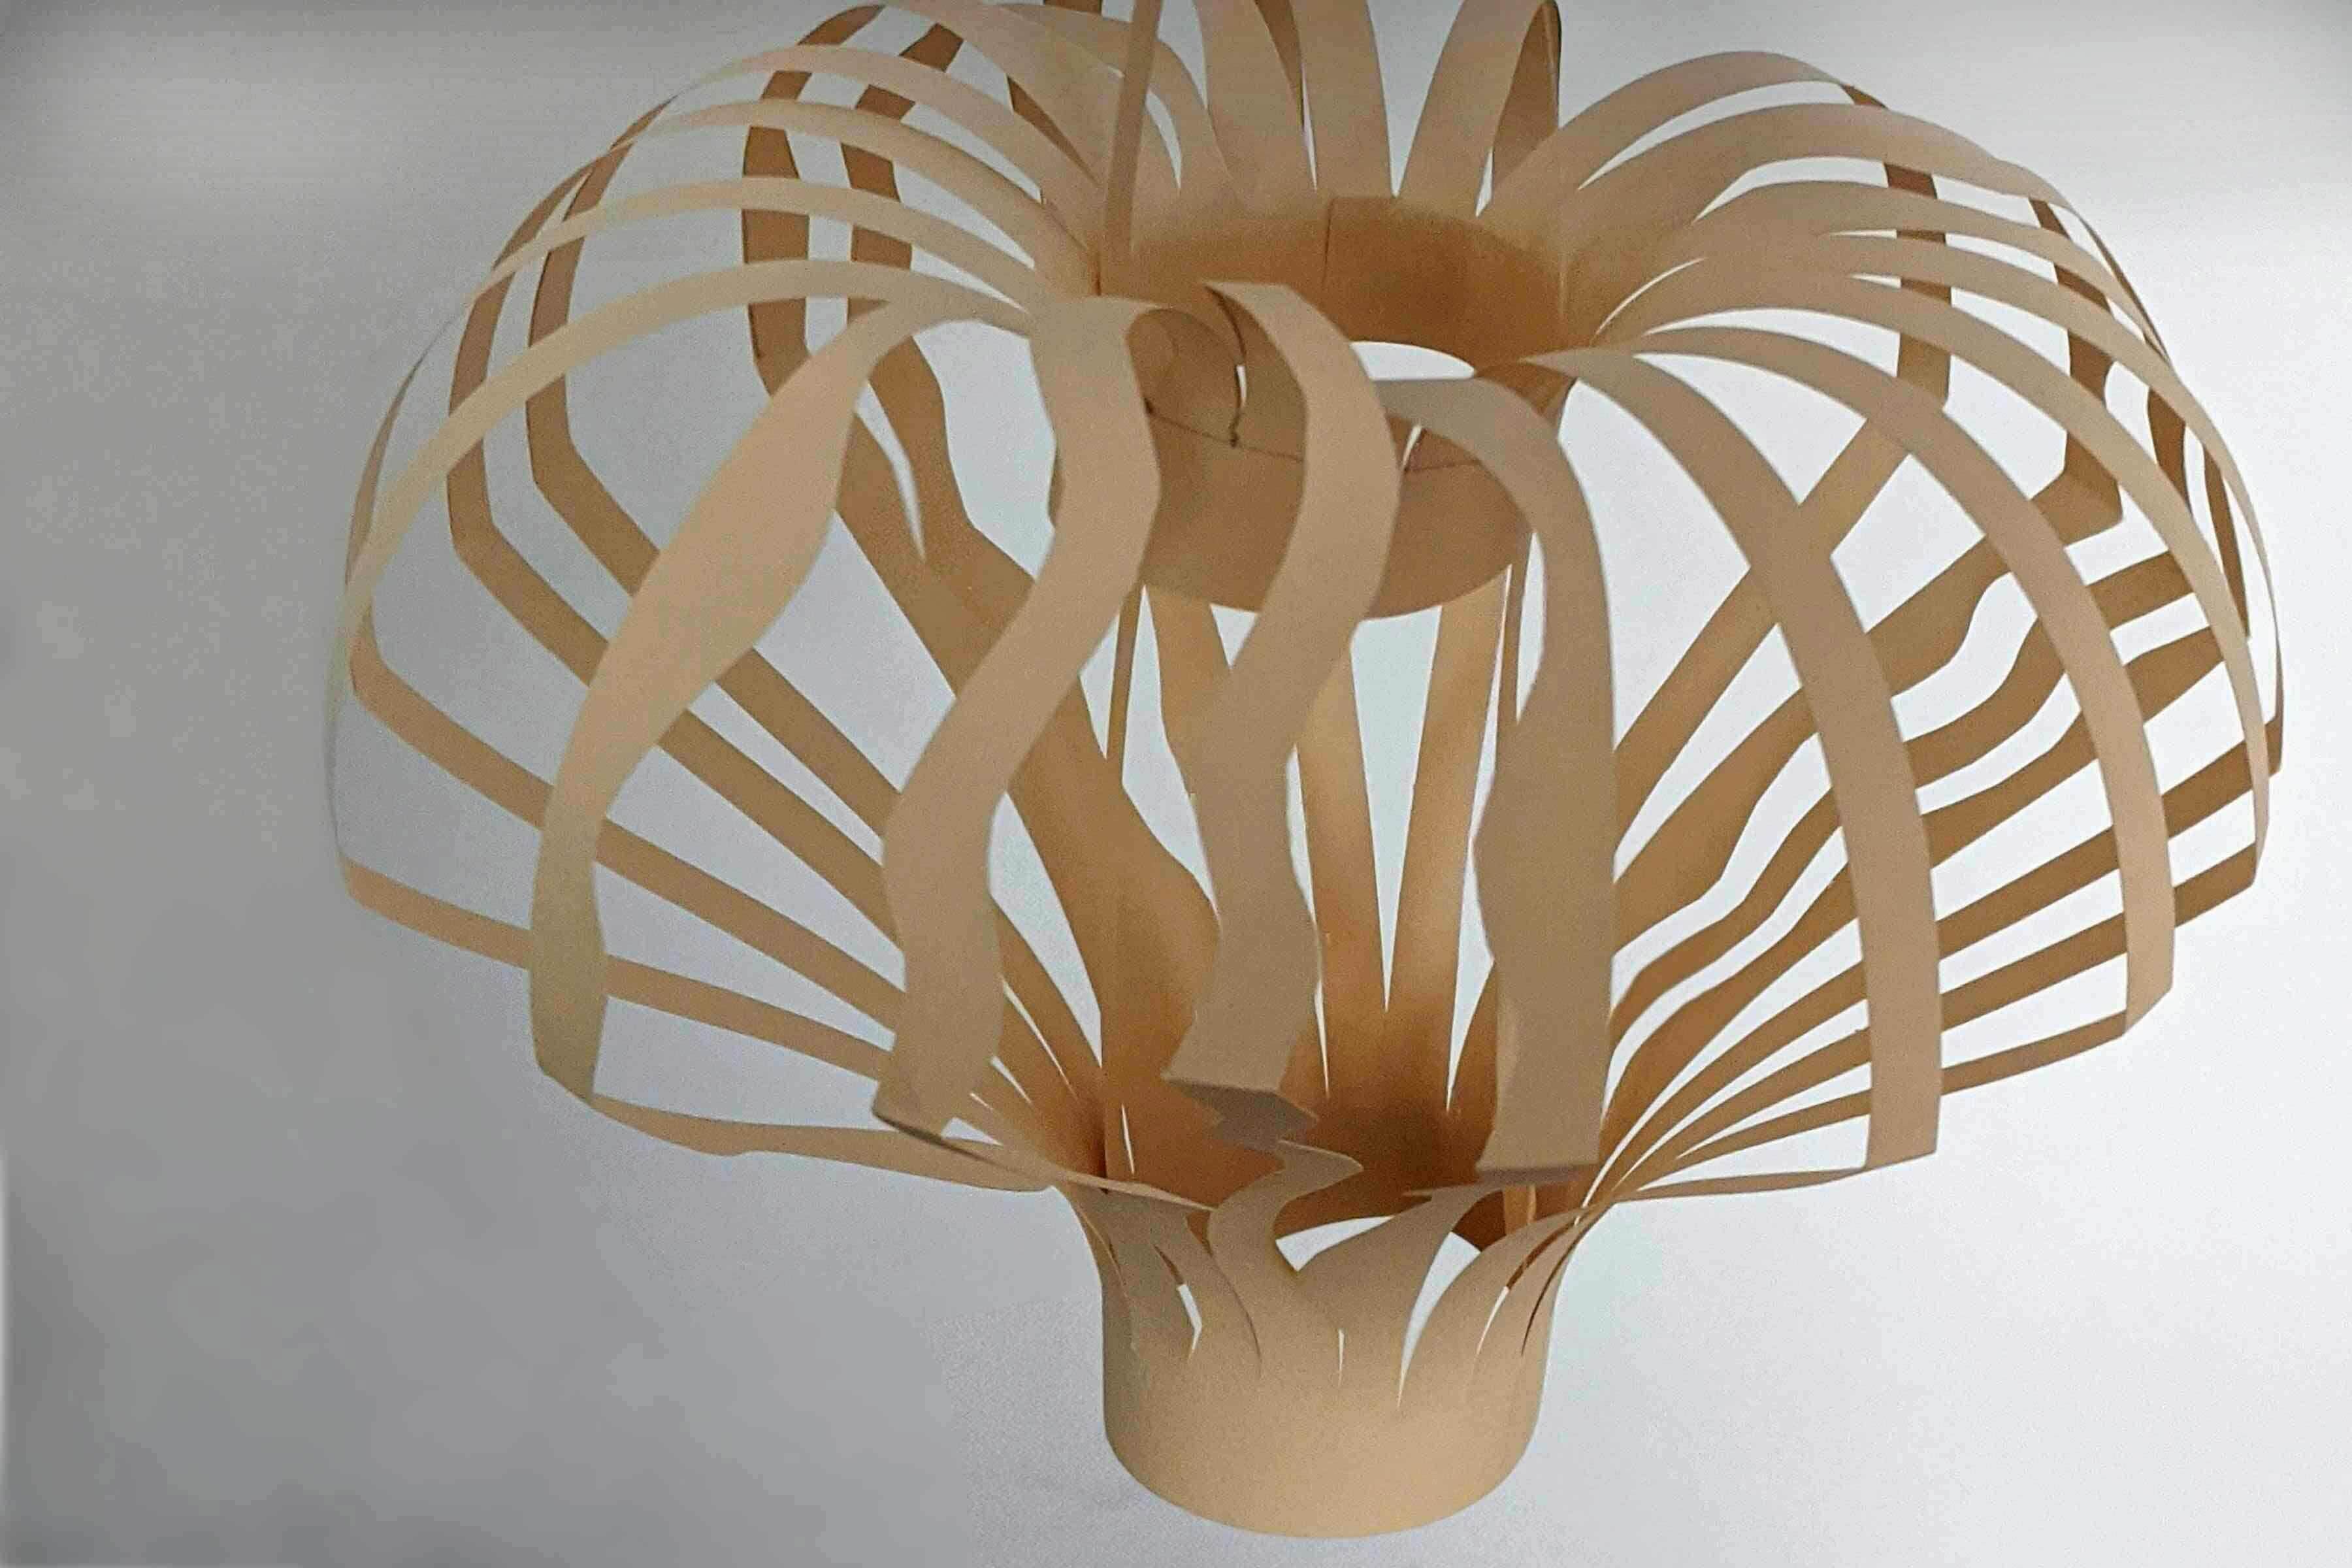
Step 4: Open up your paper with cut lines vertical, then overlap the top margin corners into a circle, and glue it to stay. Don’t glue the bottom yet! Once the first circle is dry, hold your paper with the glued circle up, then flip the open end out over that circle so that the opposite side of the paper is facing out. Overlap the open corners into a circle and glue it together. Your lantern should have one circle inside the other, the outside circle is now the bottom of your lantern (your lantern should look almost like a chef’s hat).
Step 5: Cut two strips of paper at a half-inch width or less. One strip will make the handle. The other strip will go through the center of the lantern to stabilize. Take one strip and glue each end to opposite sides of the inner top circle. This will create your handle.
Step 6: For the next strip, glue one end to the inner top circle so the strip hangs down through the lantern towards the bottom circle. Glue the strip to the inside of the bottom circle, on the opposite to the side that the top end is glued to. This will create a diagonal strip inside the lantern for support. Make sure it is pulled tightly, and that the strip is not slack. If the strip is too long, cut off any excess paper from the end. Now decorate your lantern however you’d like!
Explore more of our #PEMfromHome Drop-in Art Activity video tutorials on our YouTube channel.
Show Us!
We want to see your paper lanterns. Share your photos online using #PEMpod or #peabodyessex