Fall lanterns
As the weather gets cooler and the sun sets earlier each day, we know daylight savings time is coming to an end soon. Did you know when we switch to “standard” time in the autumn we call it “falling back” because we set our clocks back an hour? This year daylight savings time ends November 1. Studies have shown that the loss of daylight in the fall and winter months can actually impact our moods, leaving us feeling sluggish. Let’s create a fun fall nature lantern to help light the way and lift our spirits!
Supplies
- 12 small branches of similar length
- Tissue paper (warm “fall” colors)
- Craft glue
- Water
- Paintbrush
- Tealight candle (flameless for safety purposes)
- Glue gun, string or twine (optional)
Instructions
Step 1: Safely collect small branches for the frame of your lantern and get out your glue. Once you have 12 branches (around the same size), glue them together. Hot glue will work the quickest, but regular craft glue and either string or twine will also hold the frame together. Tip: Be sure to protect your table surface before you start.
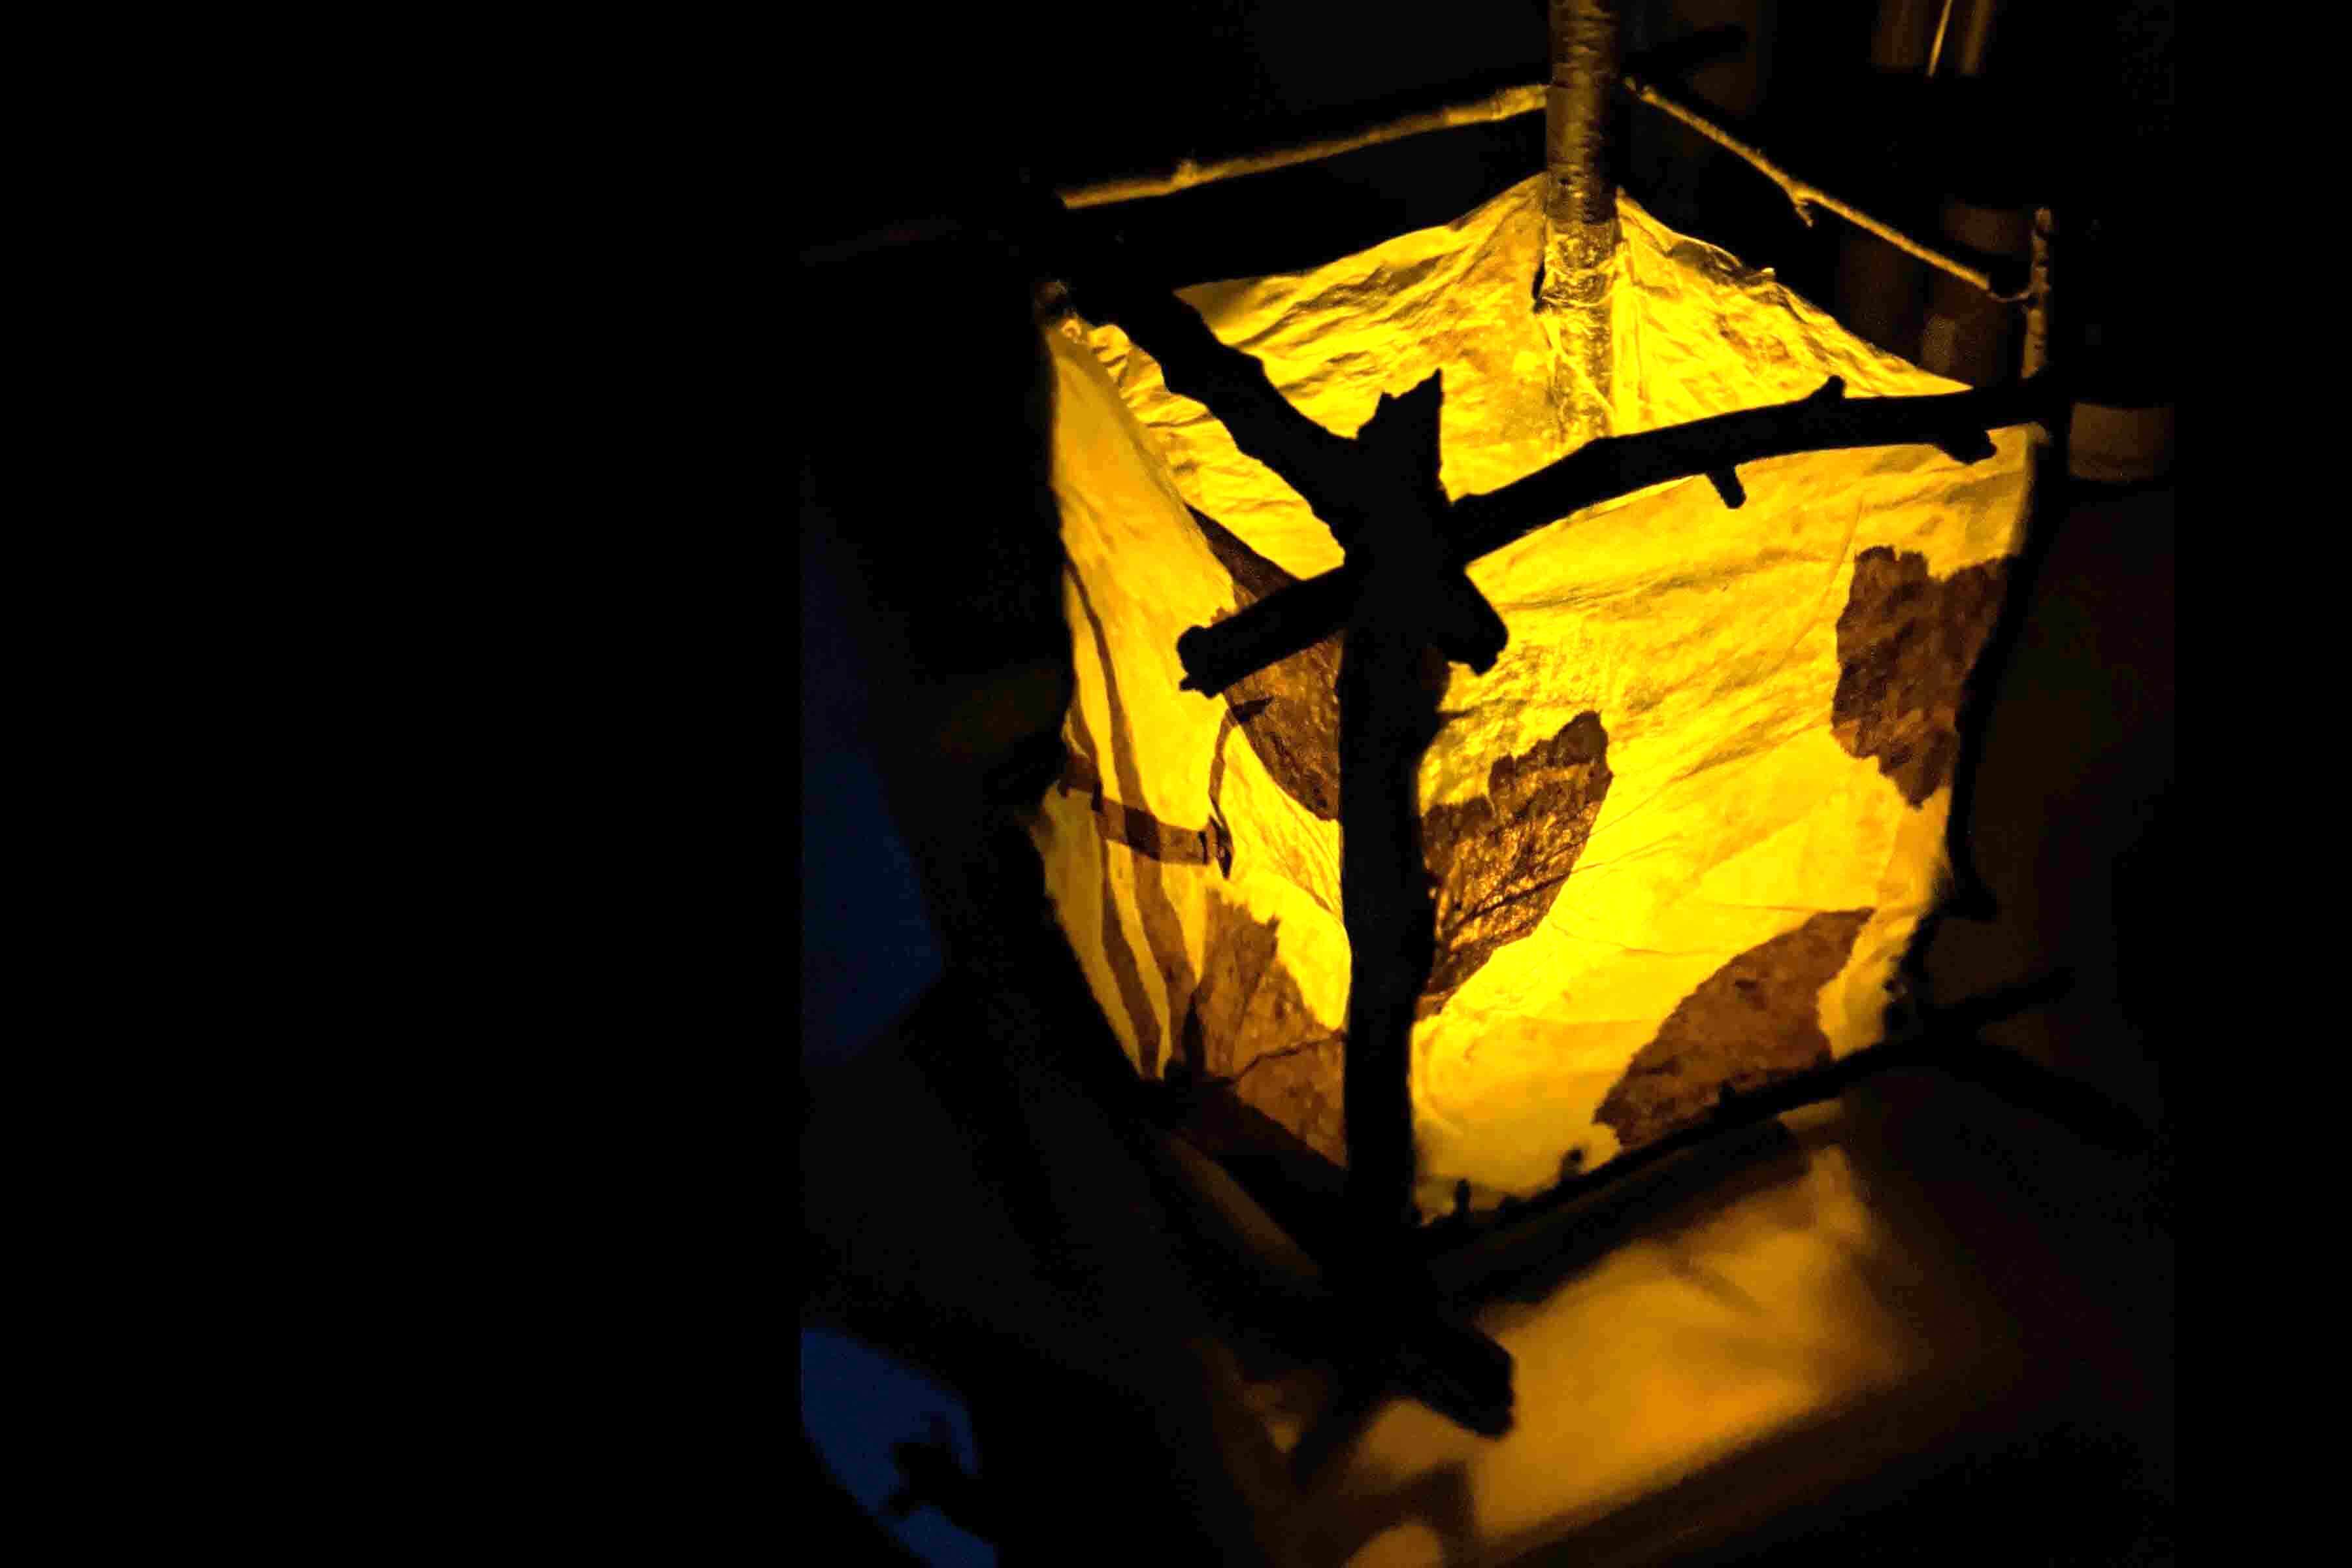
Step 2: With your glue, attach two sets of four of your branches in a square shape to make two frames. One of these frames will be the top of your lantern and the other will become the bottom. Take the remaining four branches and glue them vertically in each corner of both of your frames to connect them. This will look like a cube made of branches. Let the glue set on your lantern frame.
Step 3: Papier-mâché tissue paper lantern panes. Mix the craft glue with water. Pick one of your fall colored tissue papers. Cut pieces to cover the bottom and each side of the lantern.
Tip: Tissue paper is delicate, so gently brush on the watered-down glue rather than dipping the paper in the glue..
Step 4: Apply glue to the bottom branches of the frame. Brush down a piece of your base color tissue paper with watered-down glue. Repeat this step for all the sides, but leave the top frame open. Add a second and third tissue layer to the bottom of the lantern.
Step 5: Decorate the sides of your lantern. Be creative with other fall colors when gluing and adding layers. Cut out or tear different shapes and patterns to layer.
Step 6: Once your fall lantern is completely dry, place a tealight candle in it to illuminate your room with beautiful fall colors!
Explore more of our #PEMfromHome Drop-in Art Activity video tutorials on our YouTube channel.
Show Us!
We want to see your fall lanterns. Share your photos using #PEMpod or #peabodyessex.